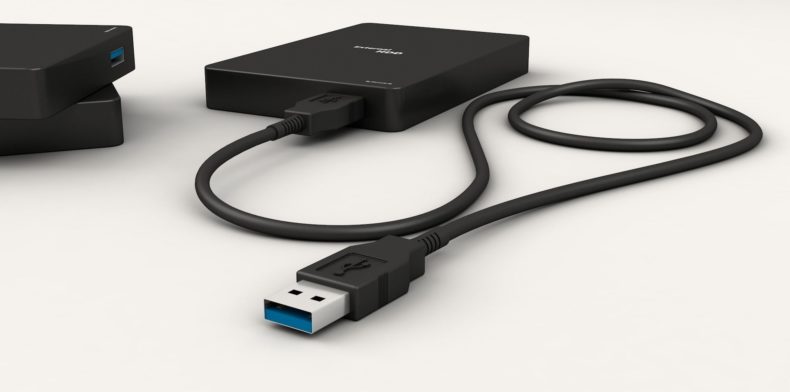
I know, I know…why am I putting this on here if I am a “Linux Web Professional”. In full honesty it’s only because each time I try to mount an external drive something happens and I get a read-only error. Ugh! So I decided to be different and post for the sake of never forgetting again how to do this.
First off you need to understand the reasoning for doing this and then we can break it down on how to get this setup. I have a low powered Raspberry Pi at home that I enjoy listening to music while at work. My music is curated for me and should I care or obtain any other music I can simply add it to my external drive on my raspberry pi in a directory called media.
In getting started we need to create a directory to mount our external hard drive. Keep in it wouldn’t be a bad idea to format the external hard drive utilizing something like disk utility for mac, native windows format. Or if you are utilizing Linux you can use the Terminal method of formatting a storage drive if you are on linux. In formatting I chose to use NTFS for my setup. Once this is complete you can proceed with plugging in your External HDD (Hard Drive) and do the following:
Getting started:
cd /mnt/mkdir nas01blkid– This command will give you the location of where the external HDD is mounted to.sudo apt-get update -y– This command is updating software packagessudo apt-get upgrade -y– This command is upgrading said packagessudo mount -o ntfs /dev/sda1 /mnt/nas01– This command will mount /dev/sda1 (external hard drive) to /mnt/nas01 (my directory which I want these files to be recognized on)
Once this is complete we need to ensure that that our external hard drive stays mounted to our Linux system. We can do this by editing the fstab. Please note that the #1 and #2 commands have 2 commands you only need to use one the VIM editor or the NANO editor. If you are new to Linux use nano. Let’s get get started:
Keep it mounted:
sudo vim /etc/fstabsudo nano /etc/fstab- Create a new line at the bottom of this file and add the following:
/dev/sda1 /mnt/nas01 ntfs defaults 0 0 - Save this file
Do keep in mind that in step #3 right above the /dev/sda1 may vary as your path may be something like /dev/sda2 so keep this in mind and make changes accordingly. That’s it! You have mounted an external hard drive using NTFS. I am well aware you can use exfat, ext3, etx4, etc. But for what I am doing I decided to use NTFS.
Using the Apache Web Server? Care to mount the external drive to a directory in Apache? Easy enough! Is your Apache directory located at: /var/www/html/ ? Or is it, /var/www/ ? I personally modified my Apache Configuration file to /var/www/ so modify the line below accordingly to your setup.
Link your drive to the web: (optional)
cd /var/www/htmlmkdir mediaThis directory that we are creating “media” can be whatever name you want. “images” “files” “downloads” “uploads” etcln -s /mnt/nas01 /var/www/media
In the command above we have created a symbolic link from /mnt/nas01 to /var/www/media
That is it! If you have any questions or need assistance leave a comment below and provide me the error you are getting and I will be happy to help out in any way I can.
Thank you to cgtrader.com for using the image above.
Leave A Comment