
Amazon s3 is a great way to offload assets that may be on your website, desktop, or laptop off to Amazon’s Web Services. The cost of storage is very competitive and at a cost that most people can afford. In this entry I will explain how to setup an Amazon S3 Bucket, so that in the future we can proceed with pushing assets to and from our Amazon s3 bucket. This entry will be a apart of a series of entries as we learn to create an Amazon S3 Bucket, install command line tools, push up and pull assets to and from our Amazon S3 Bucket.
Prerequisites:
- You will need to create an Amazon Web Service Account or using your existing Amazon.com account.
- You will need a credit card to authenticate your account at Amazon Web Services.
- You will need access to a phone number so that you can authenticate the account.
- You need to be aware that for our testing there will be 0.00 charge to you from Amazon however if you do upload files than there certainly will be on your billing date.
Getting started:
1.) Begin by heading over to Amazon S3.
2.) Proceed with the signup process and be sure to have access to your email and phone for verification.
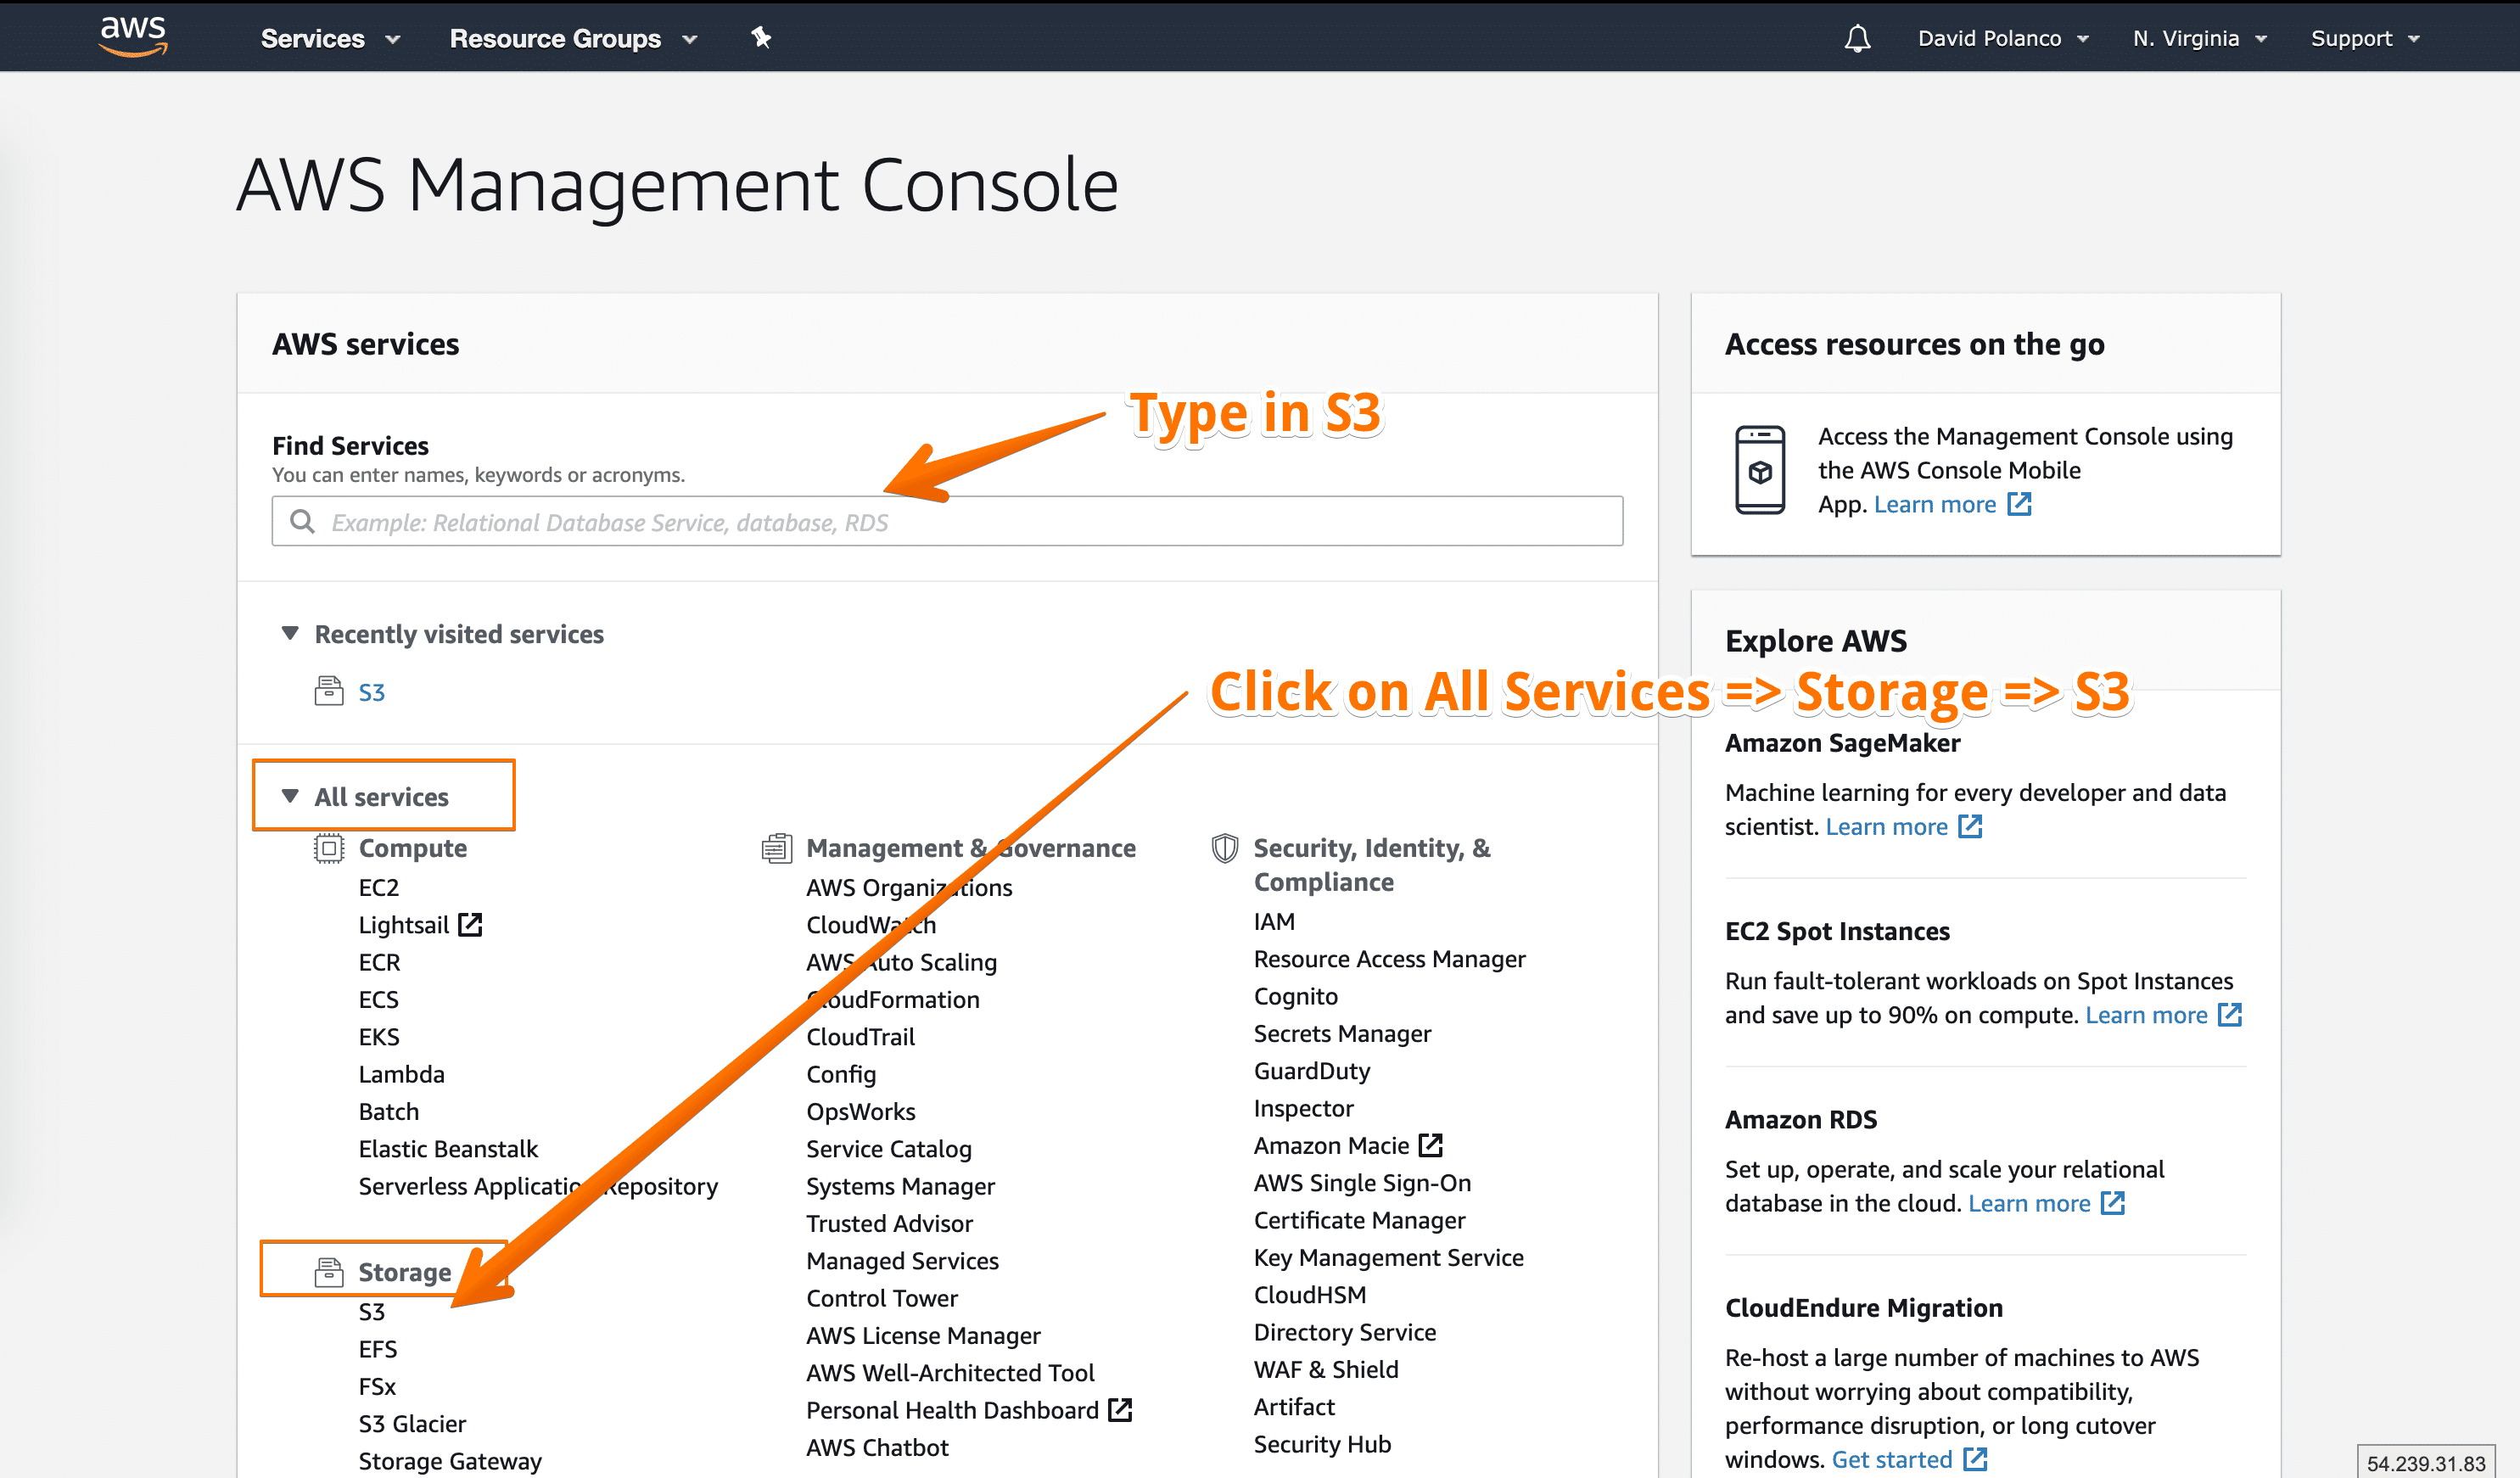
3.) Once the verification process is complete you should be welcomed to your AWS Management Console or something that is very similar. Here you can search for the service S3 or simply hit the drop down of All Services go to the storage category and click on S3 as shown below:
4.) Next we will proceed with creating a S3 Bucket.
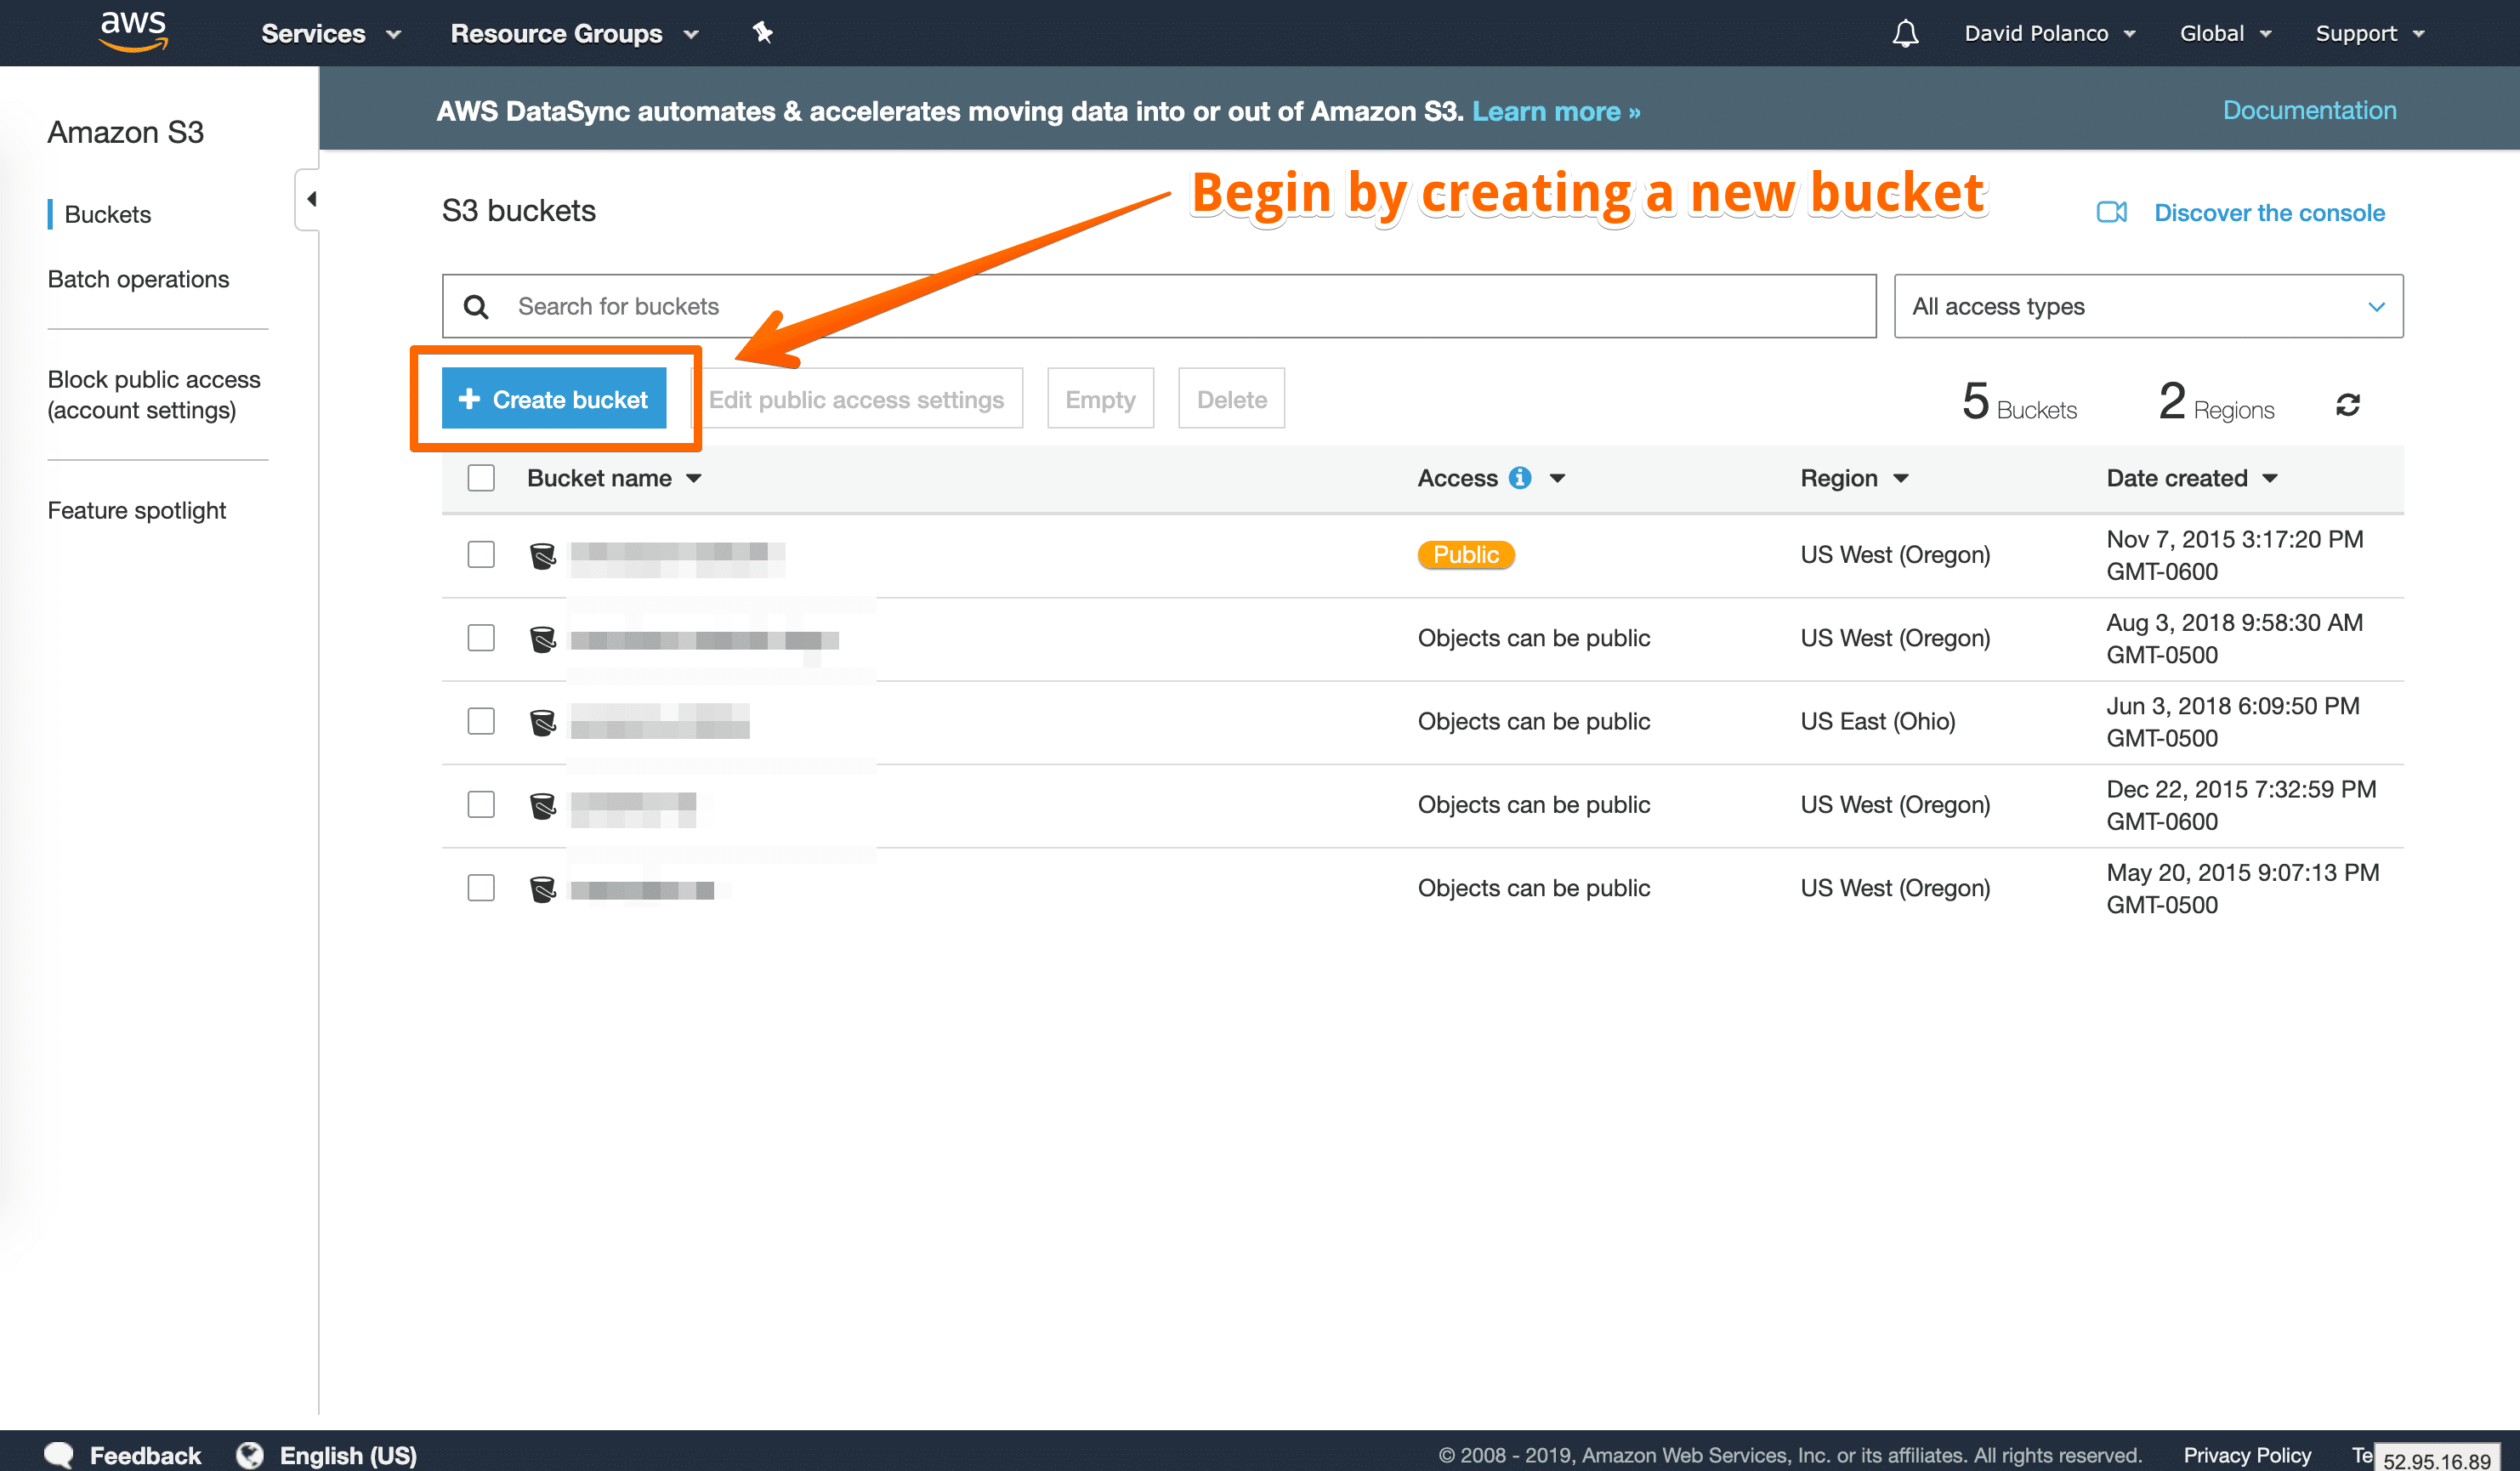
5.) Next we will be presented with a screen in which we need to specify a Bucket name and Region. You can see a bucket as a directory of sorts that holds all of your files and folders. Keep in mind that once a Bucket on Amazon Web Services has been created no one will be able to use that Bucket Name moving forward.
The region is very important as you want to choose a region that is close to you. There is quite a list of Amazon Data Centers that are around the world so do your best to choose the one closest to you. Why, because when it’s time to use our bucket we will want to ensure that upon pushing and pulling files that we are doing this to a data center than is closest to us. (less latency)

6.) Once you have selected a Bucket name & Region click on next.
7.) On the next slide it is time to configure our buckets options. Unless you would like to enable bucket encryption and configure it on your own, you can proceed with clicking on Next.

8.) On the next slide we will adjust our permissions. Here we can choose if we want to make the bucket Private or Public. In the screenshot below I will be making mine private, however you can make your public if you wish to share these files on the internet. These permissions can be changed in the future if we choose to so no worries:

9.) On the last slider we will review our Bucket Settings and then Create our Bucket as you can see below:
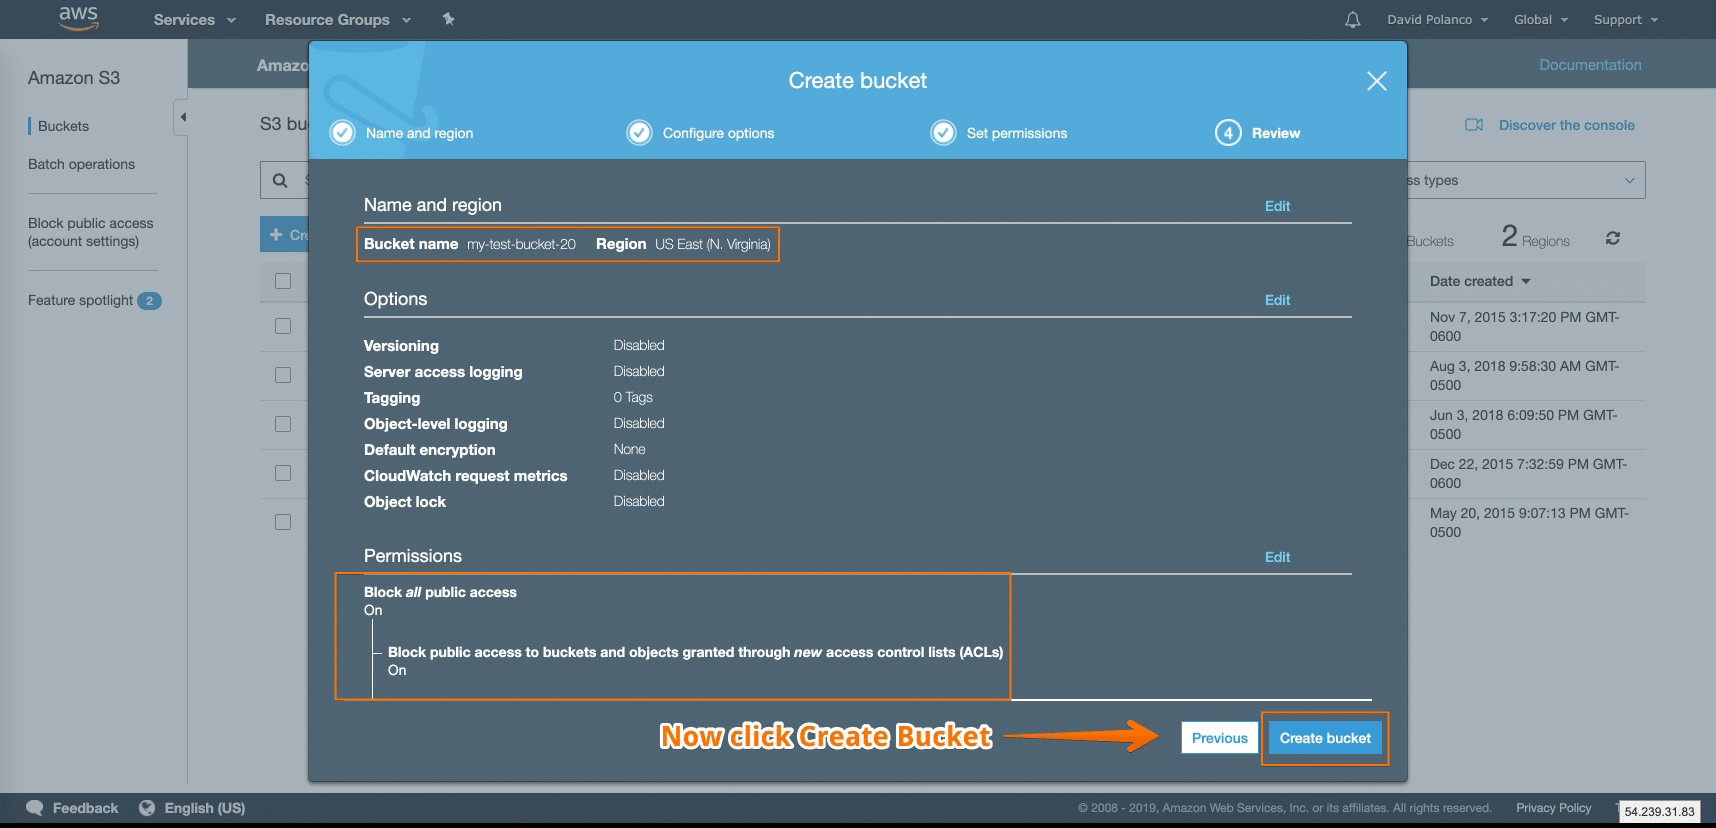
10.) All set! Our Bucket is now created. Mine is called: my-test-bucket-20
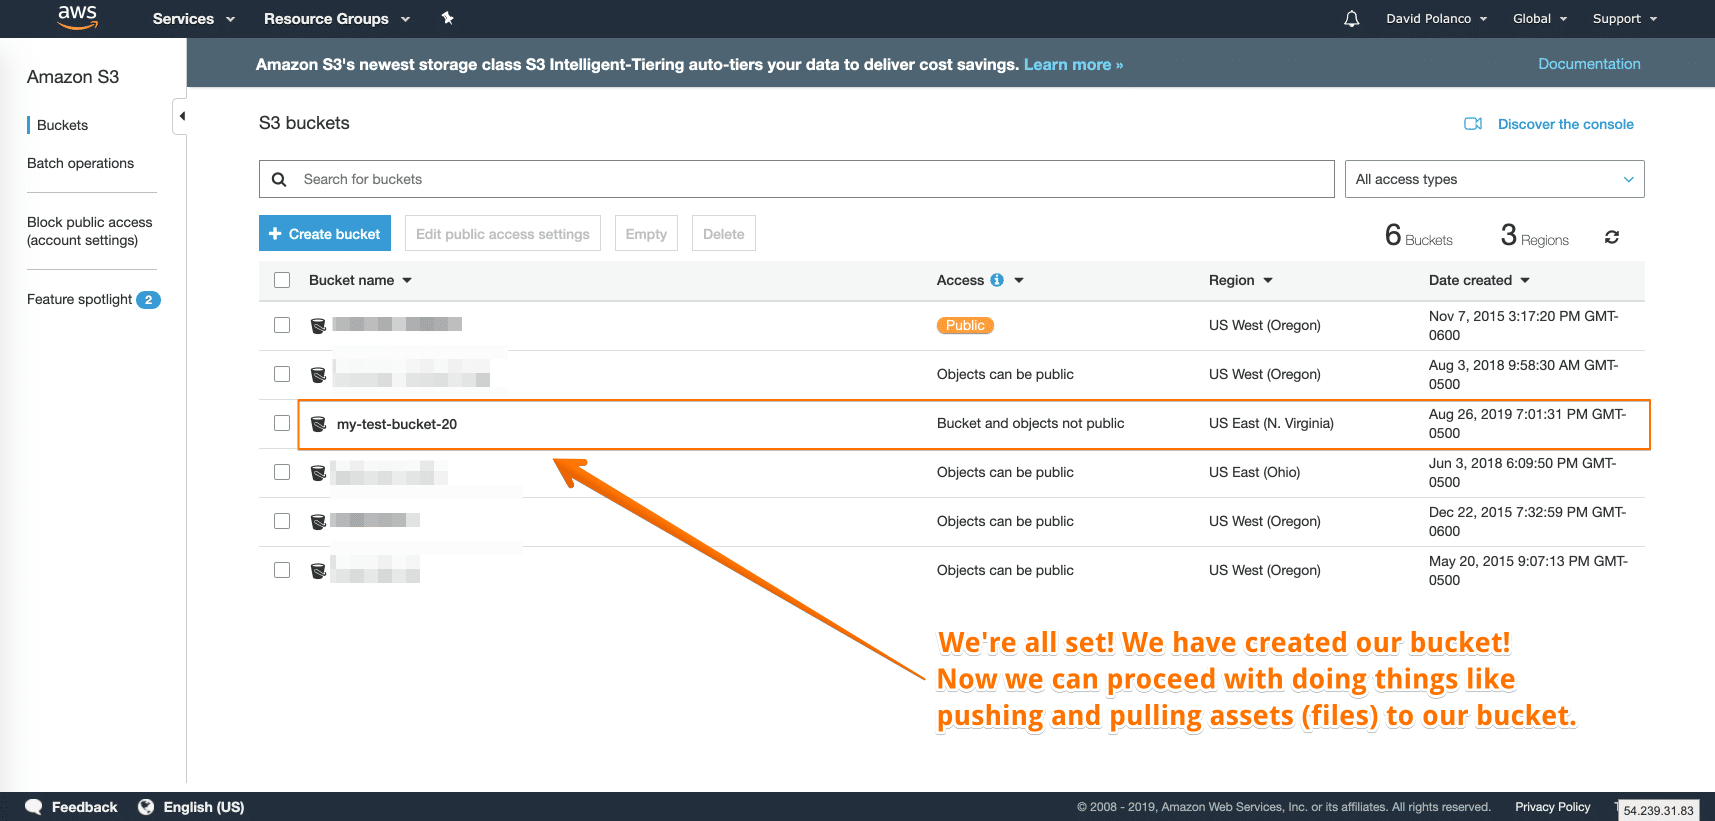
With this in mind we now need to proceed with installing the s3cmd. This will then allow us to push and pull assets such as pdf, docs, jpg, gif, pngs etc.
Conclusion:
In future entries we will learn how to install and configure the Amazon s3cmd, learn to put and push files and so much more. As these entries come out.
Leave A Comment